Here is a pictorial explanation of how I organized the vocabulary materials for our 4th grade teachers to use with the new Journeys program. Hope this post will be helpful. Here goes...
When we first received all of our materials, this is what we received (for vocabulary instruction)...
A yellow bin with sets of 5 vocabulary readers to go with each unit
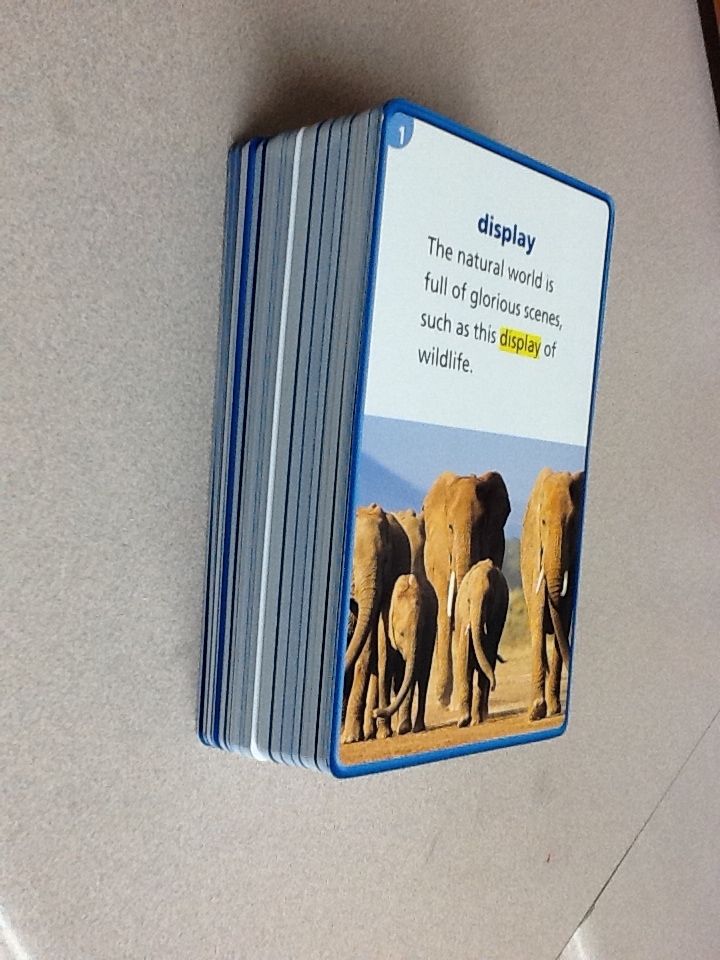
A shrink-wrapped stack of the vocabulary cards (each unit has 10 cards)
A shrink-wrapped stack of lesson plans that go with each vocabulary reader book
FIRST: We got a 1/2" binder and slid in a cover sheet we made
We put each lesson plan in a sheet protector and put it in the binder (used 25 sheet protectors)
We put each set of 10 vocabulary cards in a small envelope and labeled them (used 25 envelopes)
I found a bunch of random tabs in some old binders, but you could purchase new (used 25 tabs)
I cut the very bottom strip off to get rid of the 3-hole punches
I cut down the tab sheets to be 6 inches wide and discarded the part I cut off
I printed labels and stuck them over the top of the tabs to cover the old writing that was on them *Note: The labels were bigger than the tabs, so I cut the labels down before sticking them over the tabs
Here's a closer view of the tabs once I inserted them between the sets of books.
So here is what the finished kit looked like. We put the envelopes with the vocab cards in the back, separated each set of vocabulary readers with the tabs, and then slid the binder with the lesson plans in the side. Viola!